


How to install a shower tray ?
The installation of a shower tray involves several methods depending on existing drain setups and the type of tray chosen. The two main methods are the recessed shower tray (walk-in shower tray) and the surface-mounted shower tray, often raised. Indeed, to install it directly on the floor, a vertical drain is needed (which is quite rare in renovation projects).
Recessed Shower Tray (Walk-in Shower Tray)
The recessed shower tray has been in high demand in recent years because it eliminates the need to step over a ledge, making it particularly suitable for children and people with reduced mobility.
The first step is to mark the dimensions of the shower tray on the floor and then to excavate. Before proceeding, ensure there are no electrical cables present and verify the strength of the support structure.
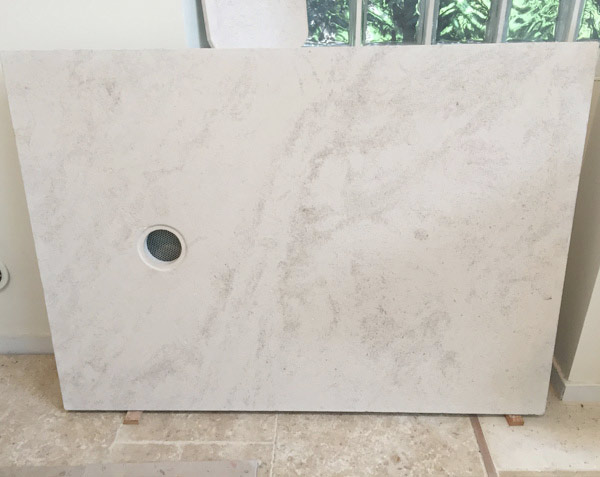
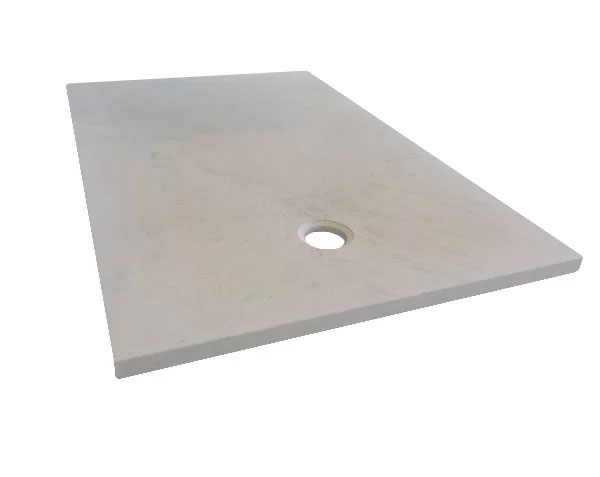
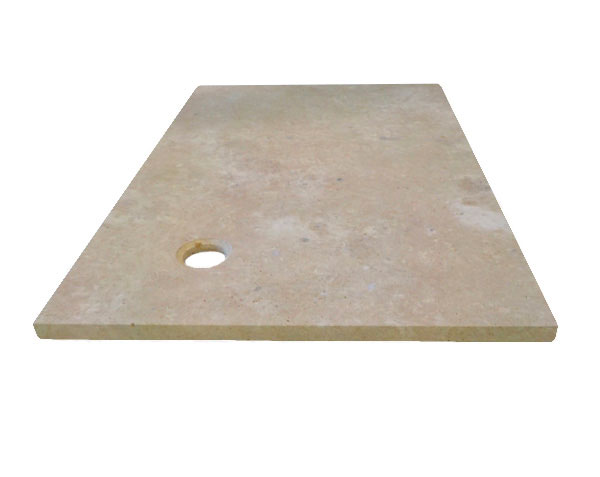
When ordering a shower tray from Comptoir des Pierres, we ask you to specify where to position the drainage hole (centered, centered width-wise, length-wise, in a corner…). As the manufacturer, we can position the drainage hole wherever you prefer (with the only technical constraint being that the center must be at least 25 cm from any edge).

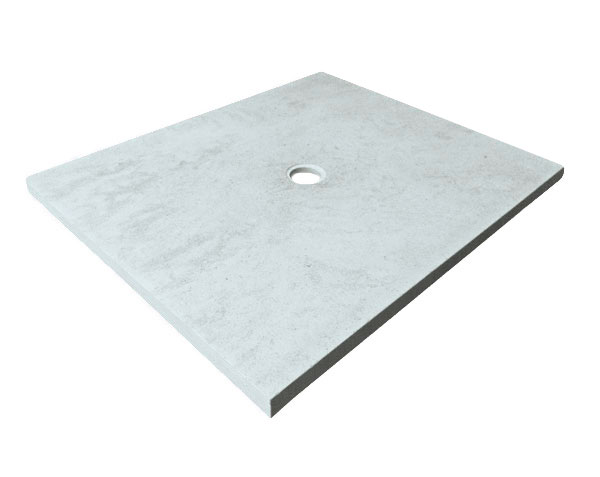
The third step is to pour the base for the shower tray. At Comptoir des Pierres, our shower trays feature a 360° slope towards the drain hole. Therefore, the base should be flat. Do not plan for any additional slope.
The fourth step is to glue the shower tray onto the support. We recommend placing a Schlüter Kerdi waterproofing membrane between the screed and the shower tray (and similarly on all shower walls that will receive the wall covering). Use a cartridge of adhesive sealant and a caulking gun. Apply parallel beads every 5 cm and within 2 cm of the edges. Assemble the drain with the trap.
The fifth (and final) step, once the adhesive is dry, is to apply silicone sealant all around the shower tray. At Le Comptoir des Pierres, We recommend Otto brand cartridges. We have selected several colors that are suitable for our various stones.
We have also designed an more economical kit that includes adhesive sealant and joint compound.
Once the shower tray is installed, continue the shower area installation by adhering the wall covering. At Le Comptoir des Pierres, we offer tiles that are 1.5 cm thick in the same stone as your shower tray (fixed format or free lengths).

Surface-mounted Shower Tray (Classic)
This installation method is considered simpler and less expensive than a recessed shower tray because it does not require excavating the floor or creating a screed. The risk of leaks is also lower (or at least easier to correct).
Some resin shower trays come with feet or supports for installation. However, this practice is not suitable for a natural stone shower tray due to its weight.
Below are the steps to install your raised shower tray. For a shower tray simply placed on the floor, you just need to glue it down and apply silicone sealant - this configuration is rarer because it requires a vertical drain. If you have this opportunity, take advantage of it. Our classic trays with edges are 5 cm thick, so there will be a slight height difference with the floor.
The first step is also to mark the dimensions of the shower tray on the floor and then to place 4 aerated concrete blocks (the future support for the stone tray). Ensure that the aerated concrete blocks are positioned correctly so that they do not obstruct the drainage.
The second step, similar to the recessed shower tray, is to connect the drainage system to the waste pipe (assemble by gluing / test the seal by draining at least a 1.5-liter water bottle one hour after gluing).
The third step is to close off the visible sides with aerated concrete blocks (ensuring they are positioned to accommodate the adhesive and stone cladding that will cover them). Assembler la bonde au siphon Apply a layer of mortar adhesive on top of the concrete blocks to fix the shower tray in place. Assemble the drain with the trap.
The fourth (and final) step, once the adhesive is dry, is to apply silicone sealant around the shower tray. Attach the cladding of the aerated concrete blocks simultaneously with the shower lining. At Comptoir des Pierres, you can either purchase tiles in the same stone as the shower tray (which you can cut to size) or provide us with the height and visible sides of the shower tray, and we will prepare custom pieces for you.
Both methods of installing a shower tray are accessible to a skilled DIYer. If you don't feel capable of doing it yourself, it's advisable to hire a professional. Properly securing the drainage system is crucial to avoid potential leaks in the future.
Also, keep in mind that these are stone shower trays, so their weight is significant (for example, 73 kg for a 90 x 90 cm walk-in shower tray). Make sure to have at least two people to handle the shower tray during installation.


