How to install stone cladding ?
Stone cladding: what are the benefits ?
Stone cladding allows for dressing up a cinder block wall on the exterior or plasterboard such as BA13 on the interior. It is often less expensive to build a 20 cm cinder block wall and then dress it with cladding rather than constructing a dry stone wall with wall stones or rubble. Indoors, you can dress part of a wall vertically for a highly sought-after decorative effect.
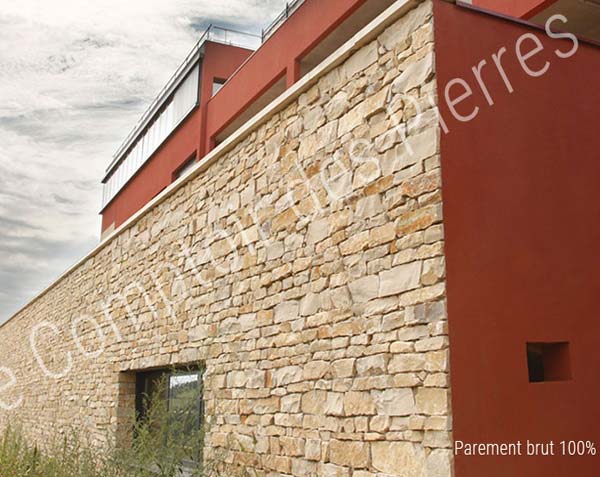
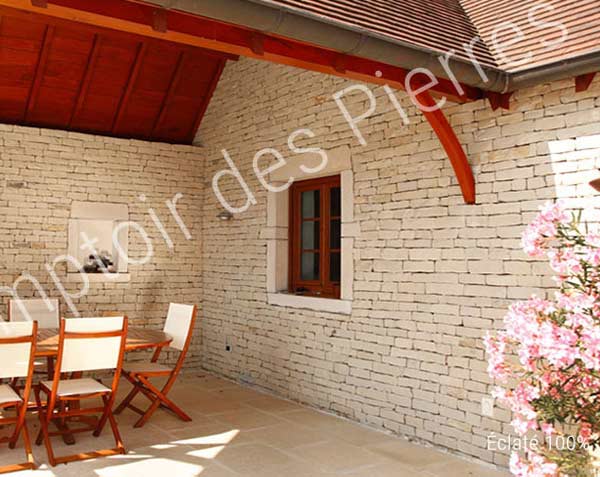
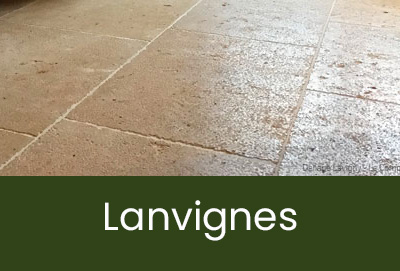
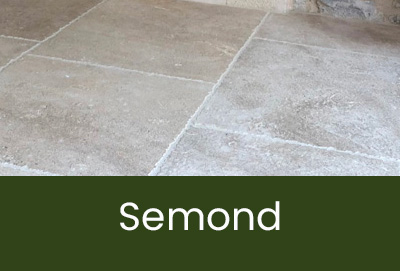
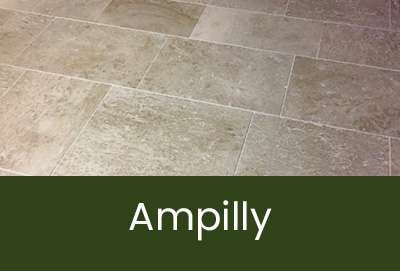
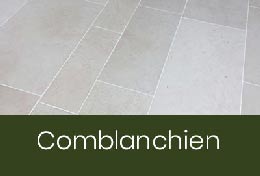
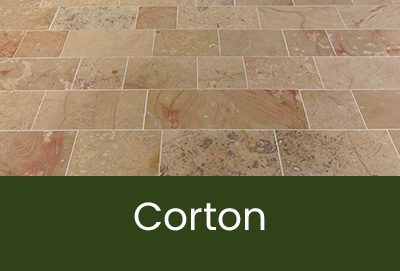
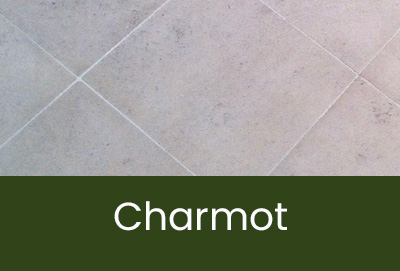
Our cladding is 2.5 cm thick (± 0.5 cm) and gives the appearance of a real stone wall. Indeed, these are Burgundy stone blocks that we split. The front face of the block allows us to obtain cladding in a golden-yellow color, while the subsequent cladding made from the interior of the block is beige-cream in color (split cladding).
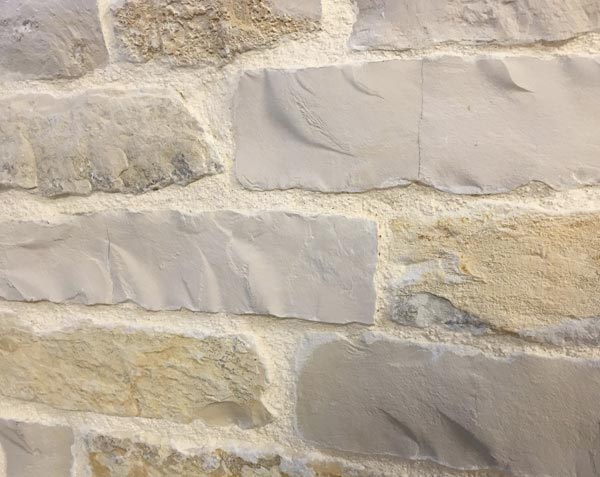
Our cladding pieces are irregular in shape although they are calibrated in height for easier installation) with beautiful reliefs shaped by nature.
Our stone cladding is sold by the square meter and must be à installed piece by piece. These are not mesh-backed stones or pre-glued mosaics (like those at Castorama or Leroy Merlin, for example). With cuts and adjustments, consider ordering 10% more than the surface area to be covered.
Plaster may initially seem less expensive than stone cladding; however, plaster will age and degrade, requiring multiple applications over a lifetime. In contrast, stone cladding does not deteriorate negatively; it will simply need occasional cleaning with a fungicide like Determousse.
How to Install Natural Stone Cladding
If you are outdoors, ensure that your surface is dry (do not install after a rainy period), clean, and not crumbly. It may be helpful to smooth out any rough spots with sandpaper.
1- Fixing the stone cladding
The stone cladding is glued using a special white adhesive for natural stone, such as Parexlanko Proliterrasse, the coverage rate is 4 to 5 m² per unit.
Always start from the bottom of your wall or structure. In France, conventionally, we begin on the left and work towards the right, akin to reading a book. However, this direction of installation does not impact the quality of the work. Ensure the first row makes solid contact with the ground to distribute the load properly onto the support. Avoid placing this initial row of cladding "floating" a few millimeters above the ground.
Then, proceed row by row up to the top of your wall. There's no need to wait for the lower rows to dry, but place spacers or tile wedges between the rows to leave space for grouting. Additionally, ensure to stagger the joints for a more natural appearance (minimize crossed joints as much as possible).
We recommend double adhesive application : apply adhesive to the substrate (in sections of 1 m² in the direction of installation) using a notched trowel, then smooth adhesive onto the back of the cladding pieces with the flat side of the trowel.
Your cladding pieces may not perfectly align in terms of length or height, so some will need to be trimmed or adjusted accordingly.
Two techniques are possible: use a mallet to irregularly shape the stones or use a diamond disc grinder for more precise adjustments
We prefer using a mallet to shape the stones because the irregularity is integral to our natural stone cladding. We only use the grinder to make miter cuts for handling corners and returns. Note that miter cuts are not essential for handling corners; another simpler method is overlapping installation.
2- Grouting
Grouting should be done once the adhesive is dry (refer to the adhesive manufacturer's instructions for drying time). For the joints, we recommend PRB Belle Epoque jointing mortar for light stone. It consists of aerial lime, hydraulic binders, sand, and mineral pigments. It can be used indoors and outdoors. It is available in 25kg packaging.
At Le Comptoir des Pierres, we recommend using grout joints between 5 to 10 millimeters maximum so they can effectively seal without appearing disproportionate to the size of the cladding pieces.
Preferably use a grout bag for more precision compared to a trowel.
To finish, several days after grouting, apply a water repellent to protect your wall from external elements. Apply the water repellent using a brush, such as a Spalter brush, or with a garden sprayer. An experienced installer (not necessarily a professional but a skilled DIYer) will take approximately 1 hour per square meter. If you're a novice, plan for around 1.5 hours for the first few square meters; subsequent areas will be quicker. So, allow yourself ample time for the project, or consider hiring a professional for the installation.
Note : It is possible to install the stones edge-to-edge without grout (dry stone installation). However, we recommend grouting for better waterproofing, especially if your wall is exposed to weather conditions.
Feel free to ask if you have any additional questions about our stone cladding. I'm here to help!