How to install pool coping ?
- FAQs , Pool , Laying & fixing
THE advice to remember for installing pool coping
The key advice for installing your pool coping smoothly is to first position the corner pieces and then fix the copings by moving towards the center of each length/width. The goal is to make only 4 cuts (1 on each length/width). As you approach the meeting point of the copings, anticipate to avoid having a coping piece shorter in length than the width, which would not be aesthetically pleasing.
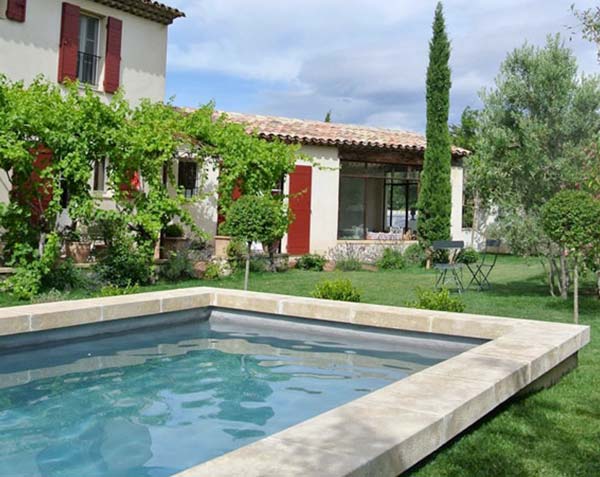
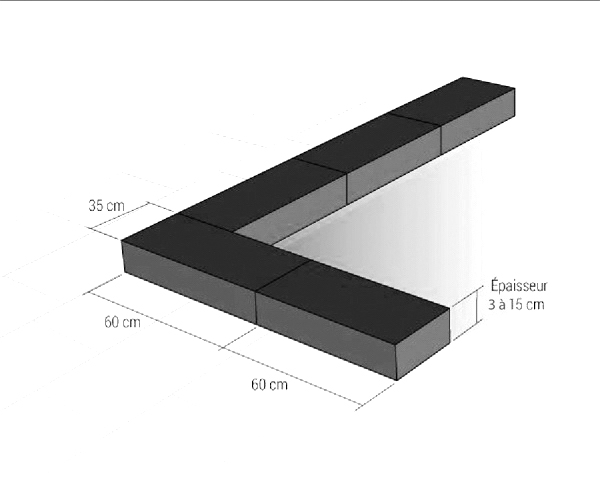
Unfortunately, as a text-based AI model, I don't have the ability to display images or diagrams. The diagram below (layout plan) summarizes the 16 steps that we recommend. Our recommendation is to have joints of 4 to 5 mm to ensure waterproofing without making the joints too coarse. This diagram represents coping with free lengths (including corners with edge-to-edge joints). This is our preferred format for coping (and paving) in natural stone, especially Burgundy stone. The copings will have varied lengths, determined randomly in our workshop for a natural appearance. The length will be at least equal to the width.
These free lengths account for 90% of our customer orders for pool copings. It is the traditional format in natural stone and also the most economical. The remaining 10% are in fixed lengths (primarily 60 cm).
As a manufacturer, we can fulfill all your custom requests (length, angle radius, Roman stairs, curved coping, etc.).

Managing the corners of a stone pool
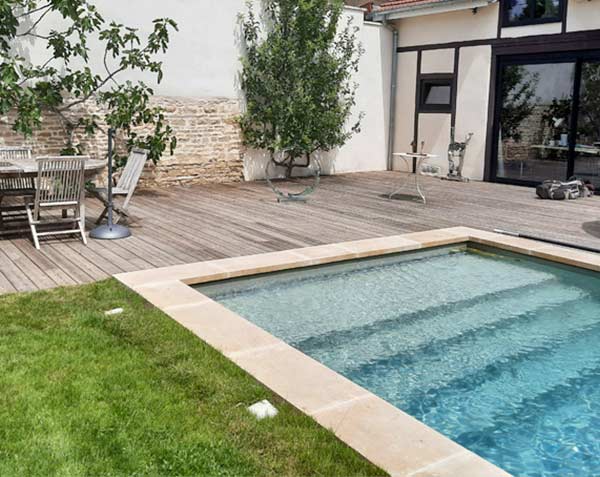
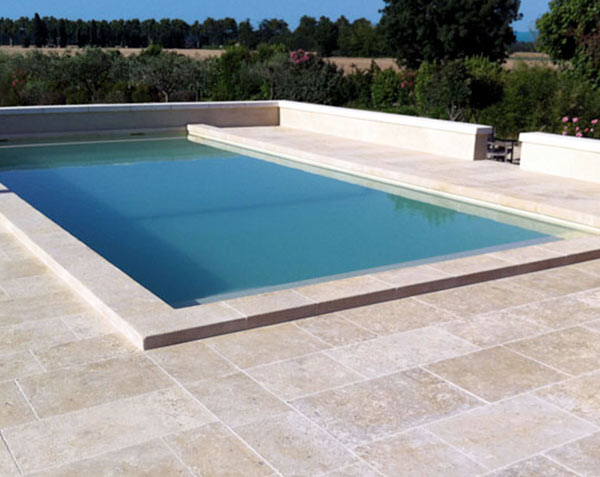
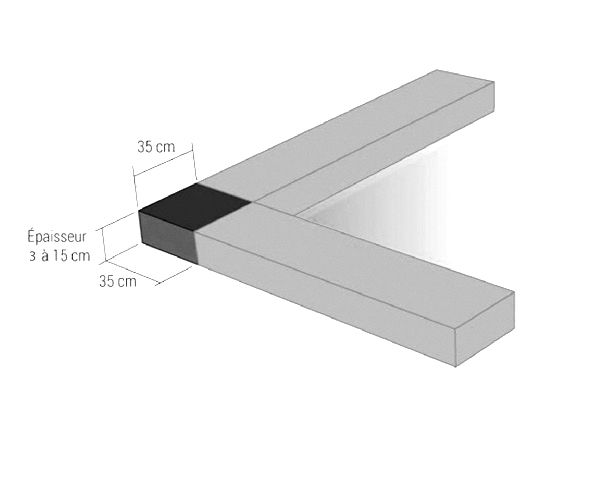
We prefer a treatment of angles edge to edge when possible. However, there are other ways to work the corners of a pool (for aesthetic or technical reasons) : square or radiused corner coping, mitered cuts, etc.
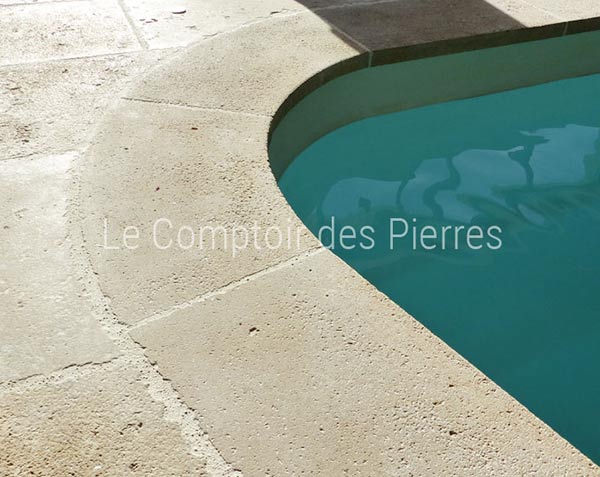
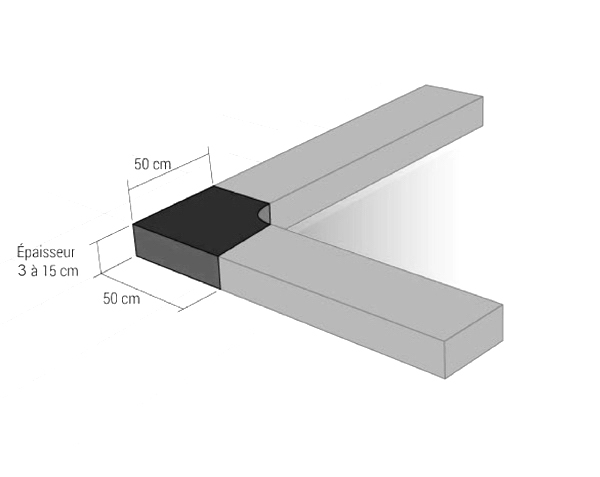
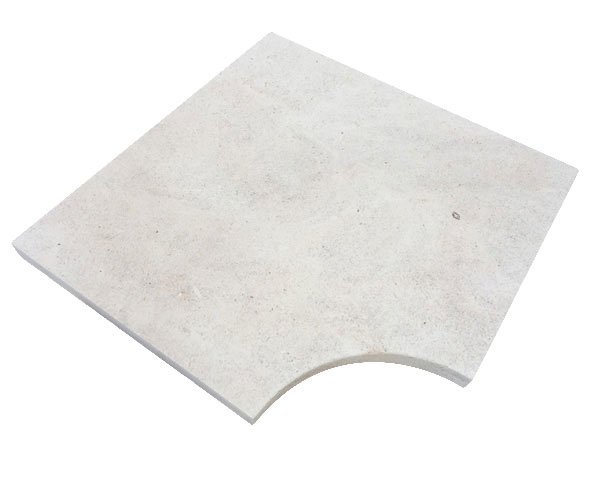
Radiused copings are very useful and even essential for fiberglass pools with large radius angles; they provide better coverage compared to square or rectangular corner pieces (free lengths).
As an alternative to our standard pattern, free lengths can also be worked into mitered cuts. These miter cuts require significant precision (upon request, we can perform them for you in our workshop). The main benefit is the ability to achieve joints with a half-round finish towards the poolside without needing specific (and thus more expensive) corner pieces.
The necessary equipment and concrete steps
Adhesive, grout, bonding primer, trowel, angle grinder with diamond blade, notched trowel, rubber mallet, masking tape, roller, piping bag, level, string... Here is the list of equipment needed for the various steps we will outline below.
These steps are largely similar between a fiberglass pool and a concrete pool.
① PREPARATION OF THE SUPPORT
As with any installation, preparation is key to the success of your project. Ensure that the substrate is level, free of debris, and dry (avoid installing after a rainy period). For pool construction and initial coping installation, make sure you have waited at least 3 months for the concrete to dry properly.
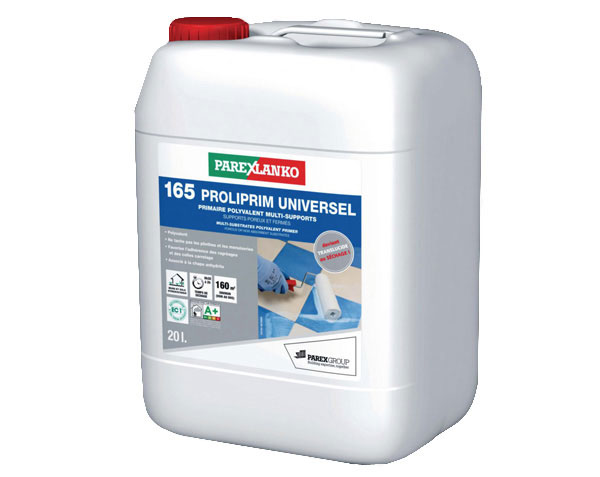
We recommend applying a bonding primer that will seal the porosity of the substrate and improve the adhesion of the adhesive. Skipping this step increases the risk of your copings detaching over time. We market the Proliprim bonding primer from the Parexlanko brand.
To ensure the alignment of the installation, you can place strings along all 4 sides, considering the overhang width of the coping towards the pool (usually 1.5 or 2 cm). Most professionals work without strings, relying on their experience. As a homeowner and novice, we recommend following this step.
② FIXING THE COPING
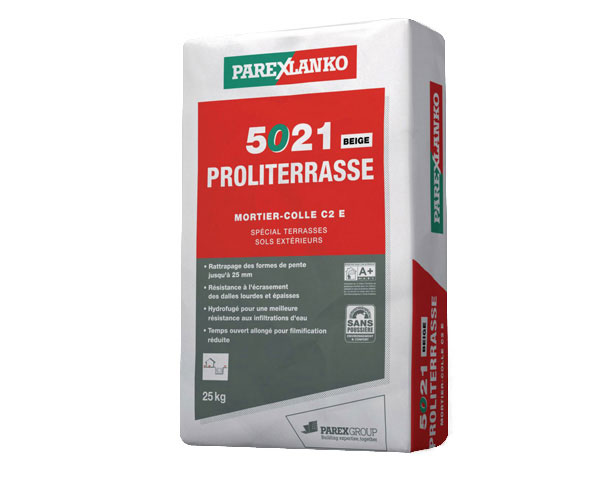
The natural stone copings are fixed to the support using white adhesive to prevent migration. We recommend (and sell) the Proliterrasse product from the Parexlanko brand. You will generally need 2 bags for your pool perimeter.
As mentioned above, start with the corner pieces. Apply adhesive to the substrate; spread it evenly with the notched trowel. Repeat this process on the coping (double application method), but this time spread it with the smooth side of the trowel. This operation is called "buttering".
Position the coping and press firmly to ensure good adhesion (you can use a mallet for assistance). We recommend a slope of 1 to 2% towards the poolside to facilitate cleaning of your terrace and coping without sending dirty water into the pool. You can use spacers to achieve perfectly uniform joints. We recommend this for our Classic finish; however, for our more irregular Tradition and Rustic finishes, you can do it by eye.
Proceed according to the installation plan; for cuts, use an angle grinder with a diamond blade. You cannot use a tile cutter because it is solid stone, and you need to cut through the entire thickness. Another option is to use a wet saw (which produces less dust); this will also provide a more precise finish. You can rent wet saws from traditional equipment rental companies.
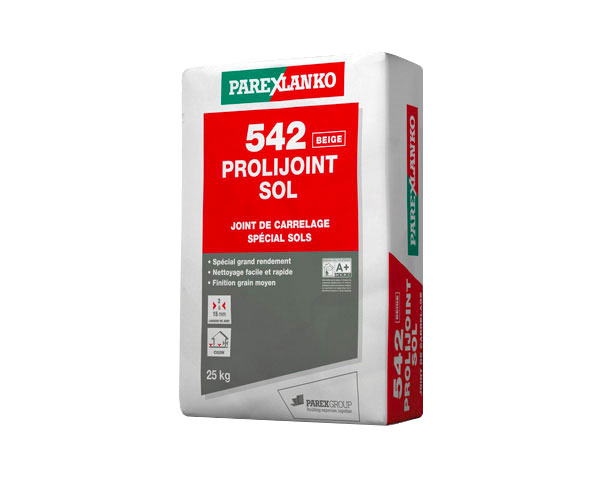
Next comes the grouting step (after allowing the adhesive to dry according to the manufacturer's instructions). We recommend using a Prolijoint stone-colored grout. One bag will be sufficient for your pool. Remember to place adhesive under the step nose to prevent the grout from flowing into the pool..
Whether it's for stone paving or coping, the most suitable method for joints is to use a piping bag.
③ PROTECTION OF THE COPING
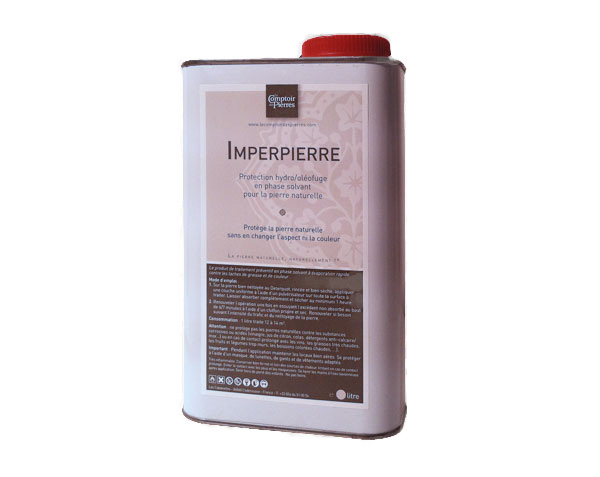
Protecting pool coping with a hydrophobic/oleophobic sealant is, for us, the essential final step to maintain the beauty of natural stone over time. This product (Imperpierre) is applied with a brush (spalter) or a sprayer. This operation should be carried out on clean and dry coping to prevent trapping moisture in the stone. It may need to be repeated every few years.
Feel free to contact our teams if you have any questions.