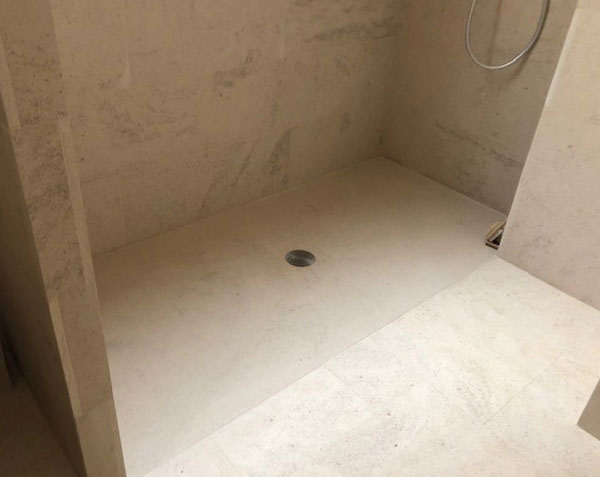
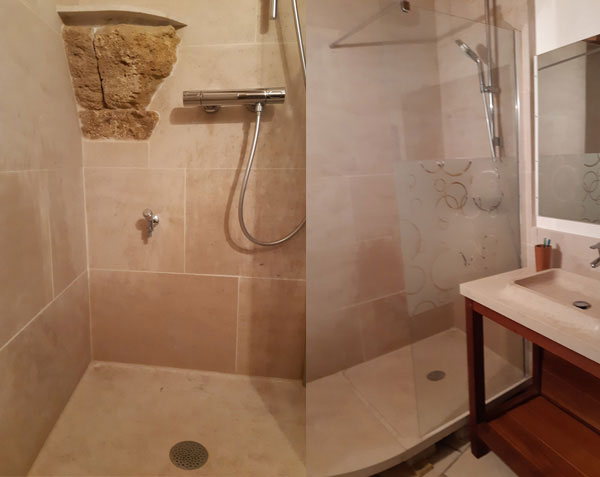
The first step is to prepare the wall (the surface).
The walls must be flat, coated, and free of any roughness. If you are creating a shower space, the bathroom-specific plasterboard (Ba13 waterproof) must be coated. An adhesion primer, such as Proliprim, will then be applied with a roller to ensure the mortar adheres properly.
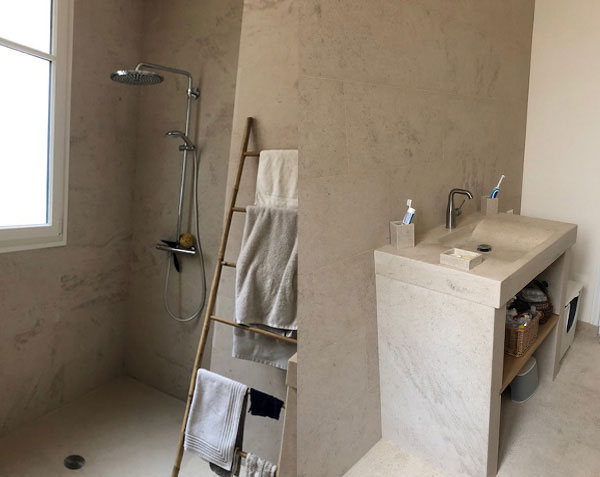
The second step (once the primer is dry) is to stick the tiles.
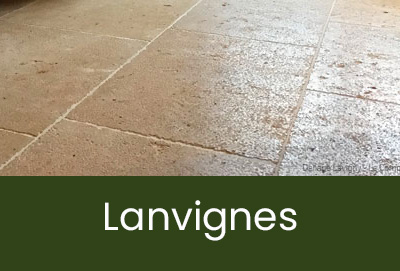
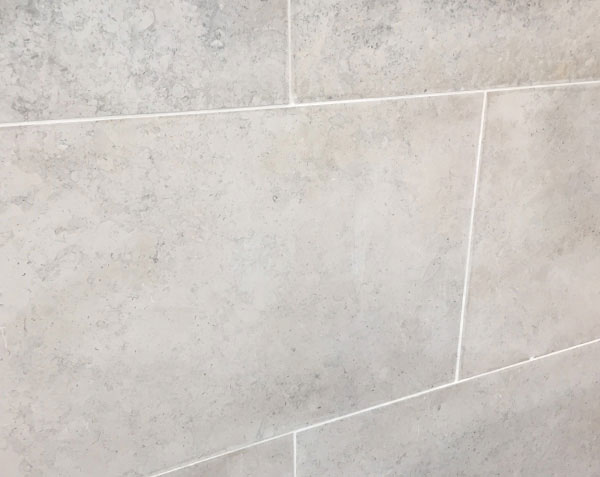
At Comptoir des Pierres, and generally in natural stone installations, we typically use individual stone tiles rather than large panels (e.g., 210 x 90 cm), which can be technically challenging due to their weight (e.g., 90 kg for a 2 cm thick panel). Therefore, we recommend traditional stone formats with free lengths and a width of 30 cm.
The method for applying tiles is similar to laying stone flooring : use a white-colored adhesive mortar like Prolipro from Parexlanko to prevent efflorescence. Follow the manufacturer's instructions regarding water-to-powder ratio for the correct consistency. Double-butter the back of each tile with a notched trowel, ensuring even ridges. Work in small sections (about 1 m² at a time) to ensure proper adhesion.
Use a mallet to press the tile firmly onto the wall and level it. Tile spacers are necessary for maintaining consistent spacing. For shower walls, our stones are typically finished with Straight Edges and a Smooth Finish. Use 2 mm grout joints. Cut stones as needed with an angle grinder or a wet saw.
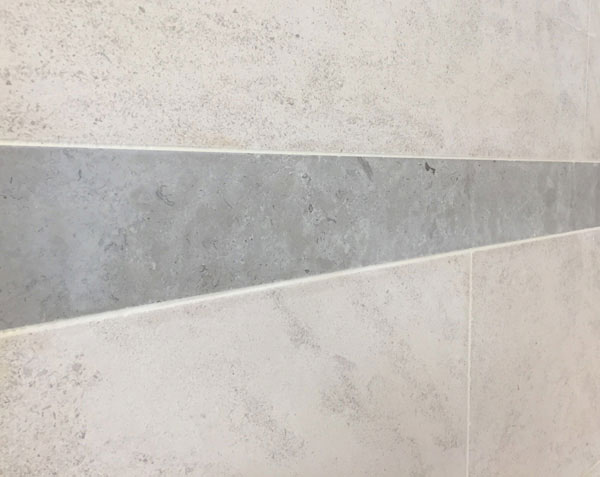
The third step (after allowing the adhesive to dry for 24 hours) is grouting.
Grouting is essential in bathrooms for waterproofing. Tiles cannot be placed edge to edge. Depending on the stone type, use a grout like Mapei or Parexlanko Prolijoint. Follow the manufacturer's instructions for mixing the grout properly with water and apply it using a spatula or grout bag. Remove excess grout with a damp sponge at an oblique angle to avoid pulling grout out of the joints.
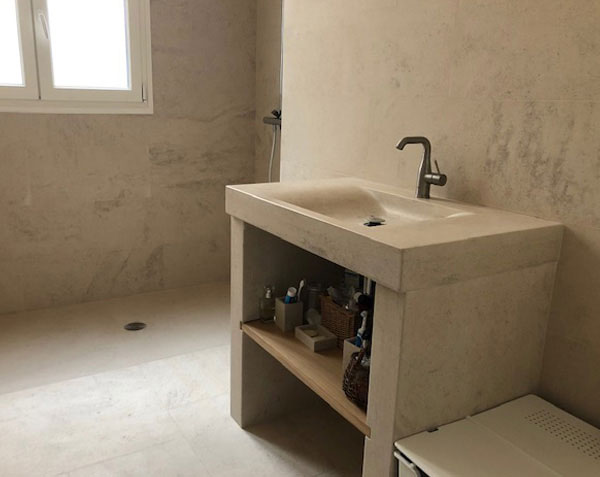
If necessary, apply a special natural stone product, such as Antivoile, to completely remove grout residues from the limestone. Do not overlook this step, as once the grout is embedded in the stone, it will be very difficult, if not impossible, to remove.
Feel free to contact us if you have specific questions about installing your natural Burgundy limestone shower tiles.