All FAQ

Natural limestone terrace installation"

Terrace installation: Natural stone, especially Burgundy stone, will enhance your outdoor space, particularly your terrace. The first key to success is choosing a frost-resistant stone with an anti-slip finish, and we'll be happy to advise you on these aspects. The second key point is that the laying of our paving must be done according to best practices, either by a professional (tiler, specialist natural stone installer) or by yourself if you feel confident in your skills (and have the time).

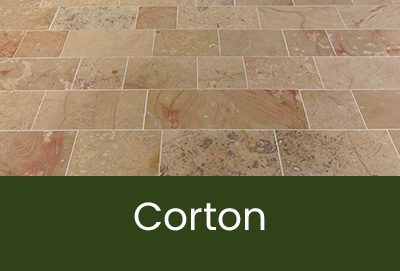
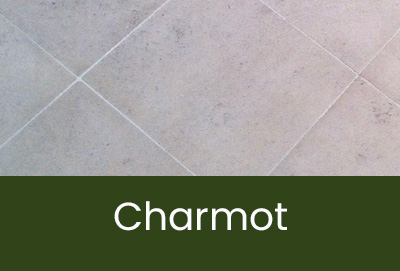
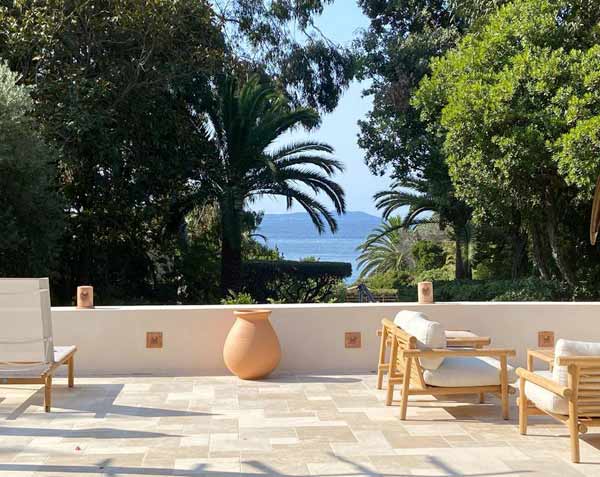
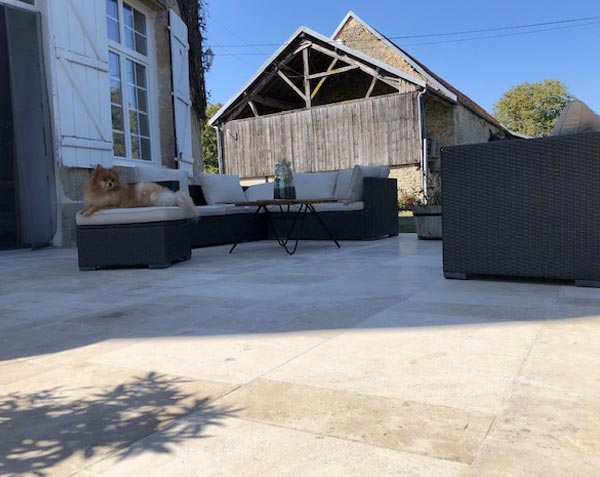
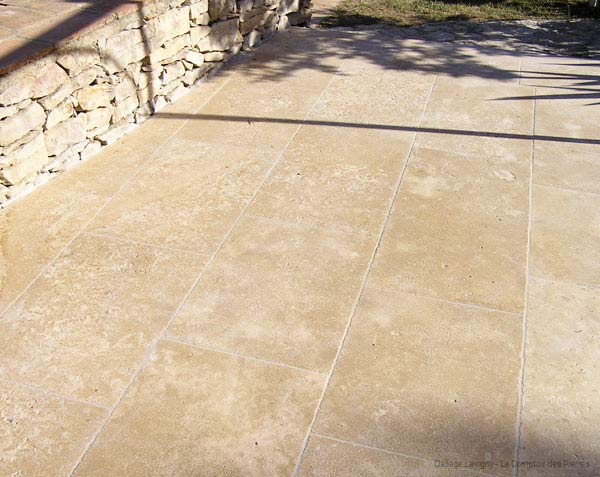
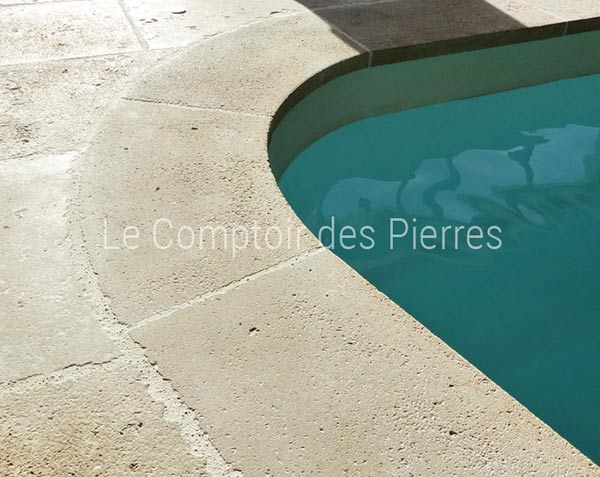
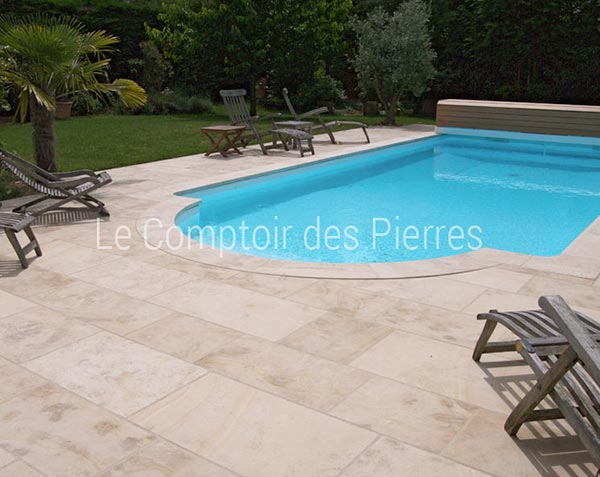
The aim of this page is to detail the 5 key steps that we consider essential for laying your stone flooring (terrace, pathway, poolside area...). Here, we will only discuss glued installation (on a hard substrate: slab or screed), which represents the majority of our clients' installation projects. We will not address installation on sand or installation on pedestals. These instructions apply to Burgundy stone as well as travertine or Egyptian stone.


Prerequisites : Ensure that the drying time of the substrate has been respected (a minimum of 28 days for a slab or 1 day per centimeter for a screed up to 4 cm, then 2 weeks for each additional centimeter). Also, ensure a minimum slope of 1.5% is present (without any reverse slope). Additionally, maintain flatness within 5 mm under a 2-meter straightedge.

Step 1 : Preparation of the Substrate - Limestone Terrace Installation

Work on a substrate that is clean, dry, and cohesive. Remove all traces of dirt. In case of defects or absence of slope, create one using Lankosol 143, for example.

Step 2 : Fixing the limestone tiles or flagstones

Use Proliterasse with double gluing while respecting the mixing ratio. You can use a measuring bucket for easier mixing. Use an appropriate glue trowel; we recommend a half-moon trowel. Respect the mixing ratio specified by the manufacturer (indicated on the back of the bag or in the technical data sheet). Also, adhere to the recommended temperature range for product use: generally between +5 and +30°C. In hot weather, moisten the substrate before laying the tiles.


Be cautious of wind and sunlight, as they can shorten the open time of the glue.

Step 3 : Grouting the natural limestone tiles

The width of the joints must be a minimum of 6 millimeters. We recommend Prolijoint or Prolijoint Rustic joints depending on the finish of the edges of the stone tiles. Apply the joints with a joint trowel and clean diagonally (to avoid emptying the joint) using a joint sponge. Adhere to the manufacturer's recommended mixing ratio for ready-to-use joints.

Step 4 : Treatment of Specific Points - Terrace Installation

Create a flexible peripheral joint, 3 mm wide, along the walls (use a polyurethane joint). Remember to replicate the expansion joints and create control joints in the coating.


At the edge of the terrace, provide a drain or gutter to prevent water infiltration under the paving.

Step 5 : Protection of the limestone flooring

We strongly recommend applying a water/oil-repellent treatment or a mineralizer once the joints are dry and the slabs are also clean and dry. The purpose of these protections is to limit the penetration of moss, lichens, and pollution into the natural stone.


Please feel free to contact us with any questions.


Note : The reference document for this type of work is DTU 52.2: adhesive installation of ceramic and similar coverings - natural limestone.

Sign in

Megamenu

Your cart

There are no more items in your cart